Discover the Clone Stamp
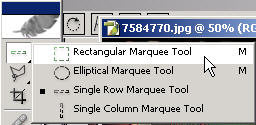
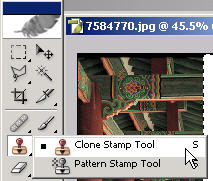
I’m going to show you the Clone stamp tool in this tutorial. First another review of how to create a fill. This is one way to do it. First, make a selection with a rectangular marquee (or any other marquee).
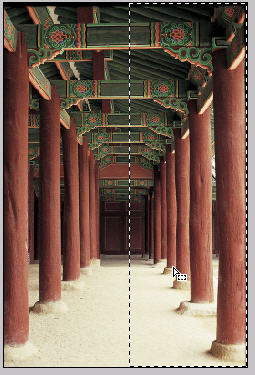
Here I’m just covering the right half of the document.
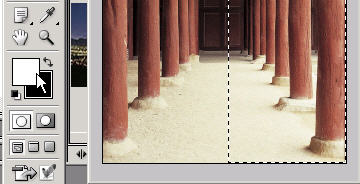
Now choose a color that you want as your fill color. Make sure it is on top in the color picker as the foreground color. The defaults are black and white which you can switch back and forth with (D, X).
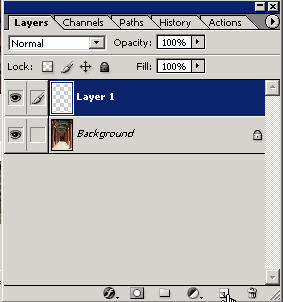
Now create a new blank layer by pressing on the new layer icon at the bottom of the layers palette. This will be the layer that you are going to fill on (otherwise the ‘fill’ will appear on the layer that you have selected/highlighted in the layers palette instead).
The easiest way to fill is just to press Alt Backspace. Now you have filled a selection on a layer of it’s own. It’s important to understand these basic fundamentals and also the different ways of doing them.
I wanted to make this white layer so I can review the fill lesson but also so there is something that I can put the ‘cloning’ onto.
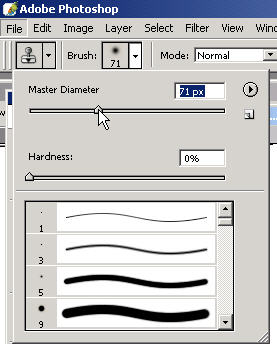
The clone stamp tool like many others, has brush size settings which you can change. A larger brush size will give you a larger source and clone. Usually you’ll want to stay on the smaller size when cloning so you have more control and accuracy.
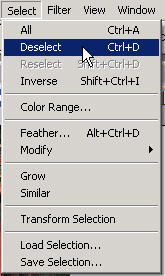
Make sure that you deselect your selection.
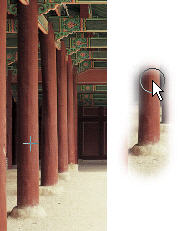
Now you can clone on top of the white space (or any other space on the document to appear on this layer). With the selection, you could only paint INSIDE of the selection. By default I’ll just get rid of selections after I’m done with them.
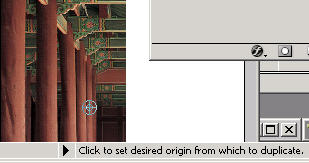
Just Alt/Opt click to determine the ‘source’ point. Click it once. Now you can start cloning/painting.
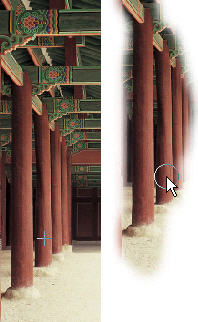
Click Use all Layers to determine your source point from anything in the document you see visually, otherwise it will only determine pixel data from the layer that you are currently on (so you might have to switch layers).
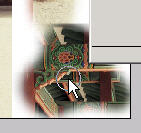
Note that when you clone, the crosshairs are showing you the source that you are cloning from and the brush is doing the cloning job for you. You can use the clone tool to eraser people out of pictures by cloning the background in on top of them (carefully).
That’s all there is to it pretty much. Just get comfortable using
it. It will come in very handy when you retouch photographs and you
can do some cool stuff with it (like erase people). With aligned turned off, you will create a new instance of the same source point every time you clone in another area with the brush. With aligned turned on, you can basically clone in all of the area surrounding the source point even if you release click and clone in different areas.
|
TUTORIALSTRAINING.COM
& TutorialKey Solutions c/o DreamCore Productions, Ltd.
5140 STONEY BROOK RD. RUDOLPH, WI 54475
715-423-2161
Contact me for any questions.
|
Copyright TutorialsTraining.com & TutorialKey Solutions 2005 Adobe, Photoshop, and the Adobe Certified Expert logos are either registered trademarks or trademarks of Adobe Systems, Inc. in the U.S. & other countries. Adobe Product Screen Shots reprinted with permission from Adobe Systems, Incorporated. TutorialsTraining.com & TutorialKey Solutions, PhotoshopDesigner.com, PhotoshopDesign.Net, ClubCast.tv, PhotoRestorationTutorials.com, PhotoRetouchingTutorials.com, Digital-Scrapbooking.net, Scrapbook-Templates.com, are trademarks of DreamCore Productions, Ltd. U.S.A. NAPP is a trademark of PhotoshopUser.com. Use of other trademarks or logos does not imply endorsement from the respective sources. |