Discover Adjustment Layers
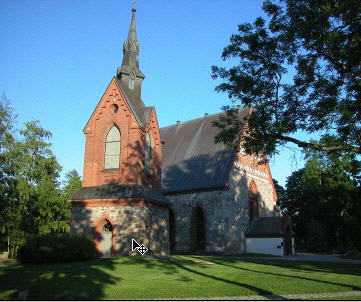
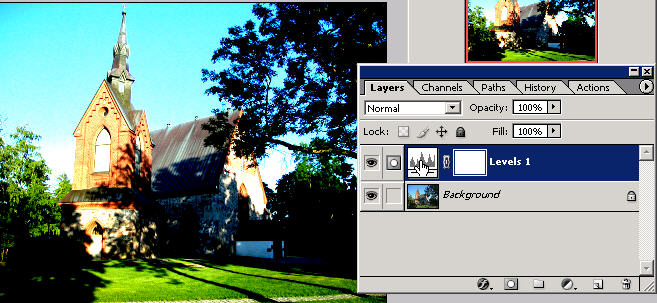
| Start with any image like this original Photos.com image.
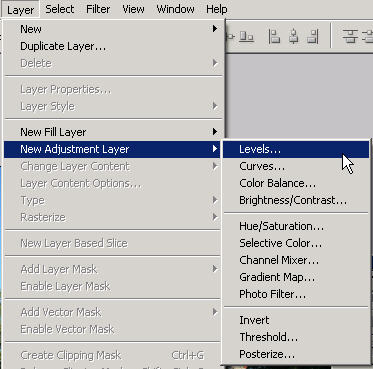
I’m going to introduce you to another very powerful feature of
Photoshop; it’s called an adjustment layer. Adjustment layers give
you the flexibility and power to make powerful, dramatic
improvements to your images WITHOUT altering any pixels (what did
you say?!). Not only that but they are instantly disposable,
temporary or permanent and easily alterable (change the settings if
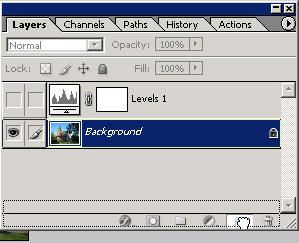
you don’t like them immediately). An adjustment layer appears on top
of other layers in the layers palette and applies the layer of the
adjustment itself to the visible layers beneath it.
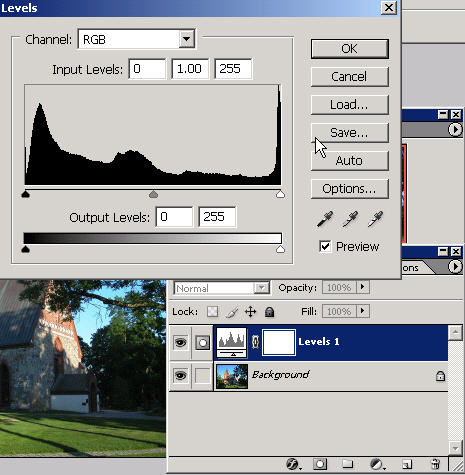
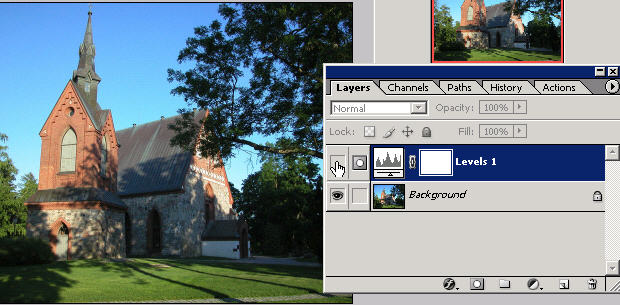
Press OK when this box comes up unless you want to name it now.
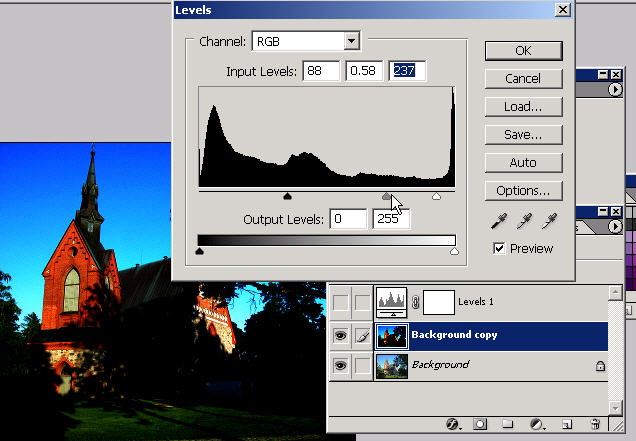
Now you simply make your changes in the adjustment layer's individual dialog box. Get the settings that you want and press OK.
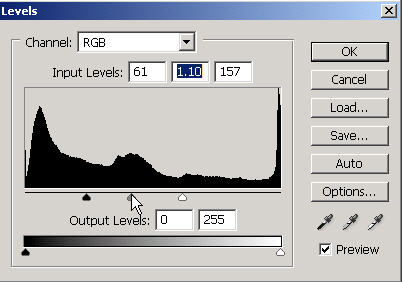
And for the purpose of example just doing something pretty outrageous to show you the effect of what’s going on. Go ahead and move the outer sliders to the middle to really increase the contrast.
You can see the effect of the entire image is now extremely contrasted. Note the layers palette. This is important to understand; the layer order of the adjustment layers. It can start to get complicated when you get involved with multi-layer graphic designs and some of which include custom adjustment layers (get my TutorialKey Photoshop CS DVD training). But for now you need to understand that adjustment layers apply to all visible layers beneath it in the layers palette.
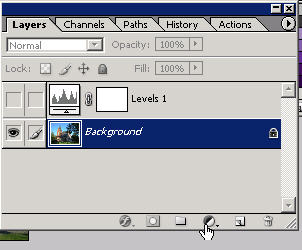
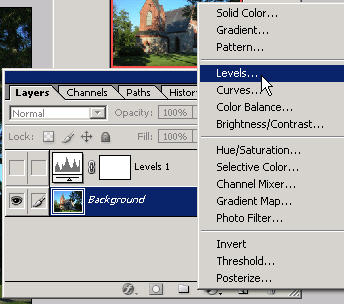
Just double click on an adjustment layer icon in the layers palette to bring up the editing field to make your ‘adjustments’. This is simply a fast and efficient way to touchup all of your photographs if you want. The other method is to duplicate your background layer to make an adjustment on that layer itself, but with an adjustment layer you have a tentative and flexible adjustment itself. These work with any of the adjustments and are also in the middle of the layers palette on the bottom (pop up menu). Try bringing up an adjustment layer dialog box this way, press OK and watch it create an adjustment layer above your background image.
You use adjustment layers to fix and adjust your images.
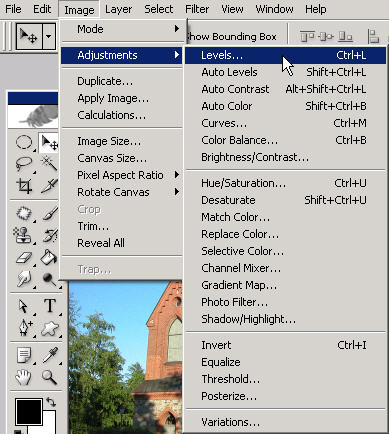
Here is the other method I’ve described of making adjustments onto an actual layer itself (changing it’s pixels). It’s good to know these different ways of doing things. Duplicate the background layer.
Now choose Image: Adjustment: Levels (or any of your choice) to adjust/change pixels on an actual layer.
Then just make your image adjustments and press OK.
Note that you have full access to all of the adjustments
with these method vs. a limited choice with the adjustment layer
method. With Photoshop though, there's just SO much to learn and it really helps to see it being done, step by step in video. Want to find out more about what 33 hours of video tutorials training could do for you? Click here. |
TUTORIALSTRAINING.COM
& TutorialKey Solutions c/o DreamCore Productions, Ltd.
5140 STONEY BROOK RD. RUDOLPH, WI 54475
715-423-2161
Contact me for any questions.
|
Copyright TutorialsTraining.com & TutorialKey Solutions 2005 Adobe, Photoshop, and the Adobe Certified Expert logos are either registered trademarks or trademarks of Adobe Systems, Inc. in the U.S. & other countries. Adobe Product Screen Shots reprinted with permission from Adobe Systems, Incorporated. TutorialsTraining.com & TutorialKey Solutions, PhotoshopDesigner.com, PhotoshopDesign.Net, ClubCast.tv, PhotoRestorationTutorials.com, PhotoRetouchingTutorials.com, Digital-Scrapbooking.net, Scrapbook-Templates.com, are trademarks of DreamCore Productions, Ltd. U.S.A. NAPP is a trademark of PhotoshopUser.com. Use of other trademarks or logos does not imply endorsement from the respective sources. |