|
Quick Intro Tutorial to the Layer Mask
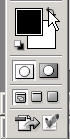
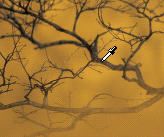
To start this layer mask tutorial, use the eyedropper tool to get a
sample of any color in your
document (like an open photo).
You can use any photo.
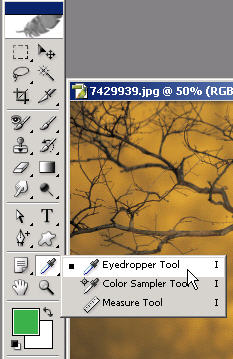
Click and the sample will now become the foreground color that
you can work with.
For this educational tutorial, get an eyedropper
sample to get your new foreground color
in the color picker. Now
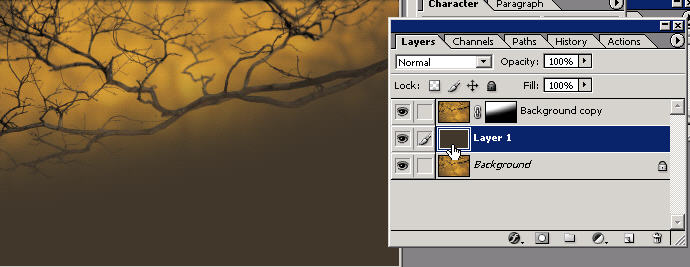
drag the background layer of this photo to the new layer icon.
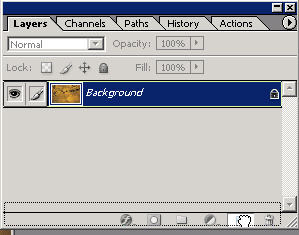
This will duplicate the layer so you can
change some pixels on.
Switch back to the background layer by clicking on it so it's
highlighted in the layers palette. Now press the new layer icon to
create a new and blank layer above the background layer.
Now you can 'fill' this new layer with your foreground color
several ways in which I teach.
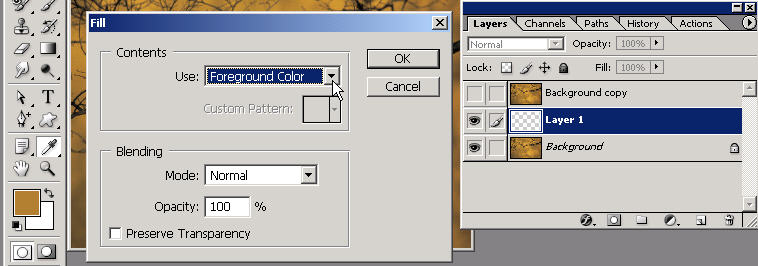
For now go to Edit: Fill and choose
the default foreground color and press OK. This will fill the
layer
with the new color you have chosen from the eyedropper tool.
Now this blank layer is filled with your
foreground color.

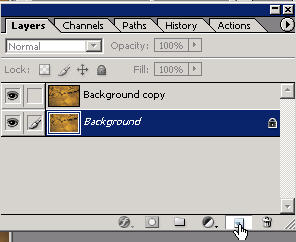
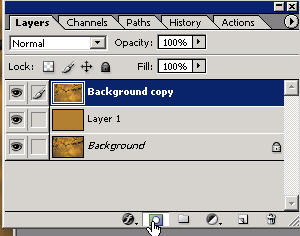
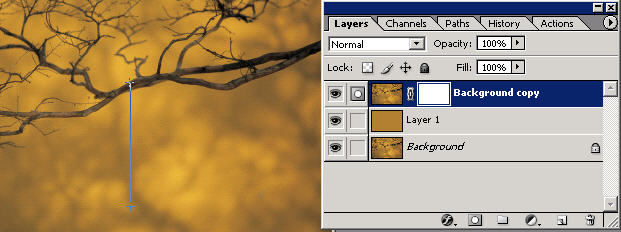
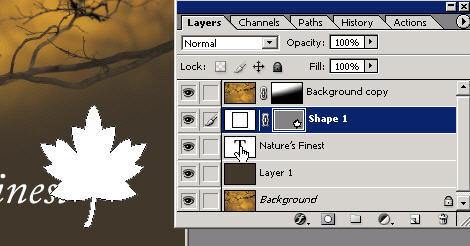
Select the original copy you made in the layers palette which
should be above the fill layer.
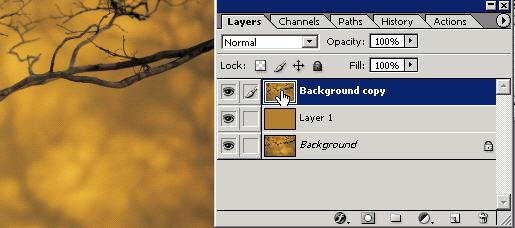
Now click on the new layer mask icon.
What you are going to do is simply 'hide' pixels by using the
layer mask; they're still
there just hidden. By hiding some of the
pixels on this layer you can let the layer
beneath blend into this
layer.
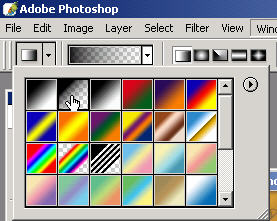
Grab your gradient tool
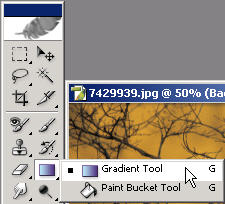
with
black as the foreground color
and
choose foreground to transparent as shown.
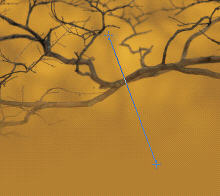
Now simply drag up with the gradient tool from the bottom at a
slight angle
towards the top (about 3 screen inches worth). Because
you are on the layer
mask, these pixels will now be hidden.
In case you didn't know it you are now learning my secret weapon
(the gradient layer mask).
This is the #1 technique that professionals use in graphic
design. It's used in 90% of all
movie posters (so that should say
something). Any beginner can create professional
results by
mastering this process.
Go to the channels palette and view the layer mask channel.
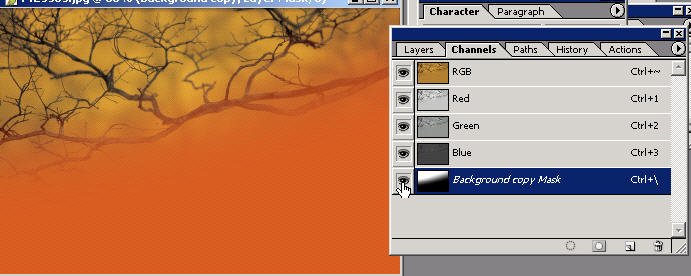
Once again you can see the black area is the area that you have
masked or hidden
and the white is the area that is left. The red you
see is the rubylith. You can click
on and off with the \ key. Or you
can turn the eye off in the channels palette to
turn the rubylith on
and off.
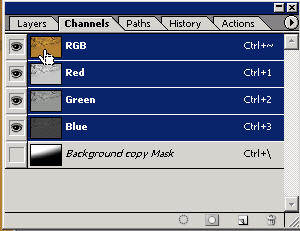
When you are done looking in the channels palette make sure that
you reselect the
RGB image composite to keep working on the document
and layer.
When you right click on the layer mask you have many options to
choose from.
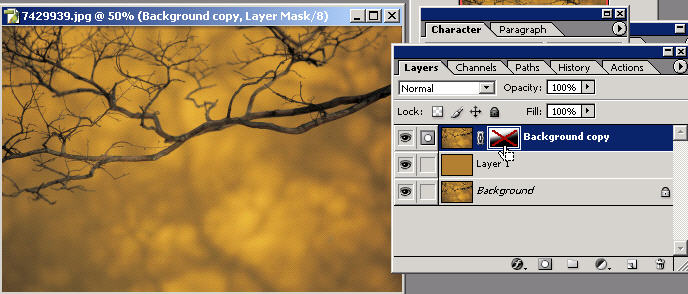
Try disable layer mask. This will turn the layer mask off with an X
in the icon and
will bring all your hidden/blended pixels back. This
is so much better than erasing
(using the layer mask).
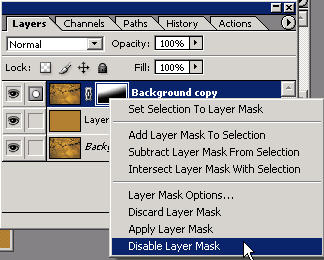
Right click again and you can "re"-enable it.

Remember that when using layer masks, if you want to
keep hiding pixels you
must make sure that the layer mask icon
itself is highlighted in the layer.
Otherwise you'll think
you're hiding pixels and instead you're on the layer
itself instead
of the layer MASK.
It will take plenty of experience
to get used to this. I feel it is one
of the most important
things to master as Photoshop user and designer. Choose a darker spot with your
eyedropper tool.
Now select the fill layer in the layers palette to make it the
‘active' layer.
Press alt backspace to fill this layer with your new
chosen color.
By combining different techniques here
you can get a feel for how easy it is to create
some nice work
(where you're headed).
Grab your type tool and just enter some complimentary text that
you think would
fit with the image you've chosen.

I have 100's of images from Photos.com that are personal picks
(being a visual person)
and are of the highest quality. I highly
recommend a subscription to Photos.com.
It's a great tool to
have in your arsenal as well as my training.
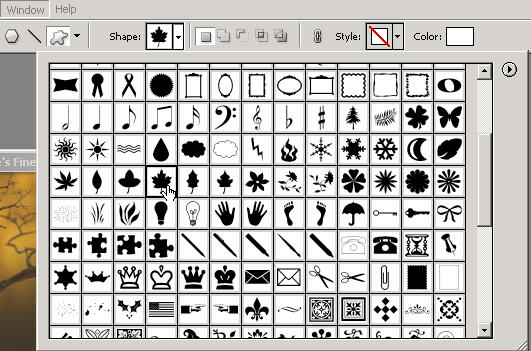
Combining a few more things here, go to the Shapes tool (U) and
choose a shape.
You can also use the flyout menu to add All
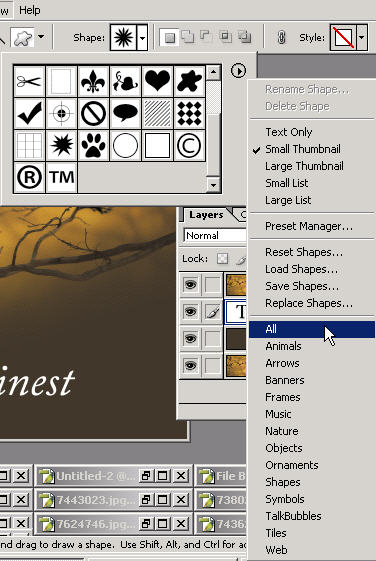
and then choose append.
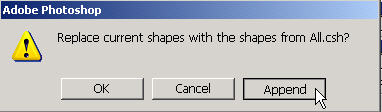
This will ‘load' all of the default shapes for you
to choose from.
I can also show you how to create
your own
custom 'shapes' and brushes which you can use in your work.
You can have all kinds of fun playing around with these shapes
but it's really cool when y
ou deliberately start to put together a
‘design'. It's then that the individual components
start ‘adding up'.
To make things simple, just keep the option on shape layers.
Now drag across with your chosen shape to the size you think it
should be.

Remember that it will fill with your foreground color.
If you want to change the color of the shape layer just click the
color picker on the
upper right in the options bar.
Remember that you have lots of tools at your disposal. Go to Edit:
Free Transform Path (it is recognized as a Path because as I said in
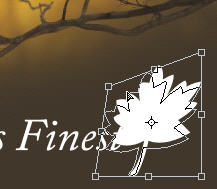
another tutorial shapes can be edited as paths).
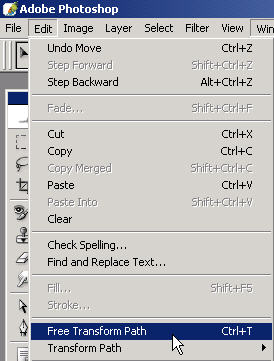
Now hold the Ctrl key and angle your object in to the center as
shown.
To add some more pizazz to your shape layer you can go to the
blending
options/layer effects and do some fun stuff. Try a gradient
overlay and
choose one that is close to your color theme. You can
also change the
angle or scale of the gradient which will apply to
the layer.
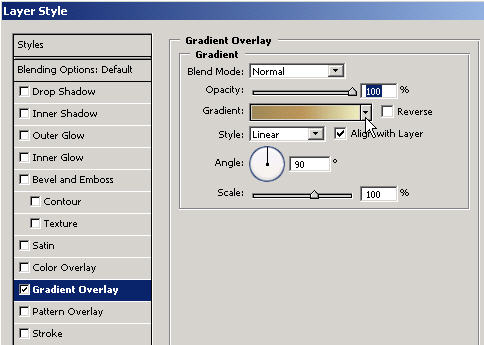
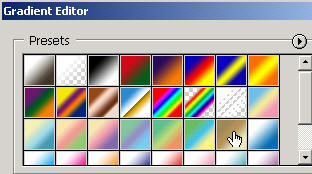
You can also create
your own custom gradients.
Here
I've chosen a custom made gradient.
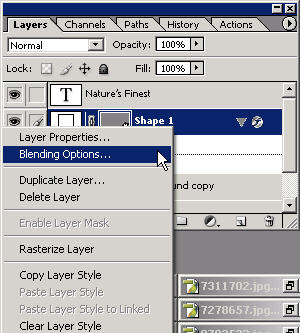
Here is the shortcut to getting the gradient overlay effect.
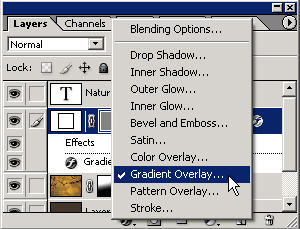
You can also get there via right clicking on the
layer and choosing blending options.
Here is the result of just a few of these basic Photoshop skills
(with an emphasis on the ever-important layer mask) put together.

The fun has only just begin. It gets exciting when YOU start
harnessing all of the
Power that lies in Photoshop with your
creativity and new knowledge of Photoshop.
Just wait until you see
what you can do with the layer mask in your designs!
So that was
a quick introduction to the layer mask. Have you
ever used it before?
Believe it
or not, you can use that tool through graphic designing
all of the time to
achieve
spectacular results.
So let's
move on though and look at the additional specific areas
in
which you
can apply Photoshop for fun in. YOU can be doing
much more
than cool
special effects with your Photoshop because there are so
many
other areas
that you can use it for:
Fun Ways in
which you can Apply Photoshop CS/CS2>>
___________________________________________________________
Copyright TutorialsTraining.com &
TutorialKey Solutions 2005
Adobe, Photoshop, and the Adobe Certified Expert logos are either registered
trademarks or trademarks of Adobe Systems, Inc. in the U.S. & other countries.
TutorialsTraining.com & TutorialKey Solutions,
PhotoshopDesigner.com,
PhotoshopDesign.Net,
ClubCast.tv,
PhotoRestorationTutorials.com, PhotoRetouchingTutorials.com, Digital-Scrapbooking.net,
Scrapbook-Templates.com, are trademarks of DreamCore Productions, Ltd.
Use of other trademarks or logos
does not imply endorsement
from the respective sources.
Privacy Policy
|